
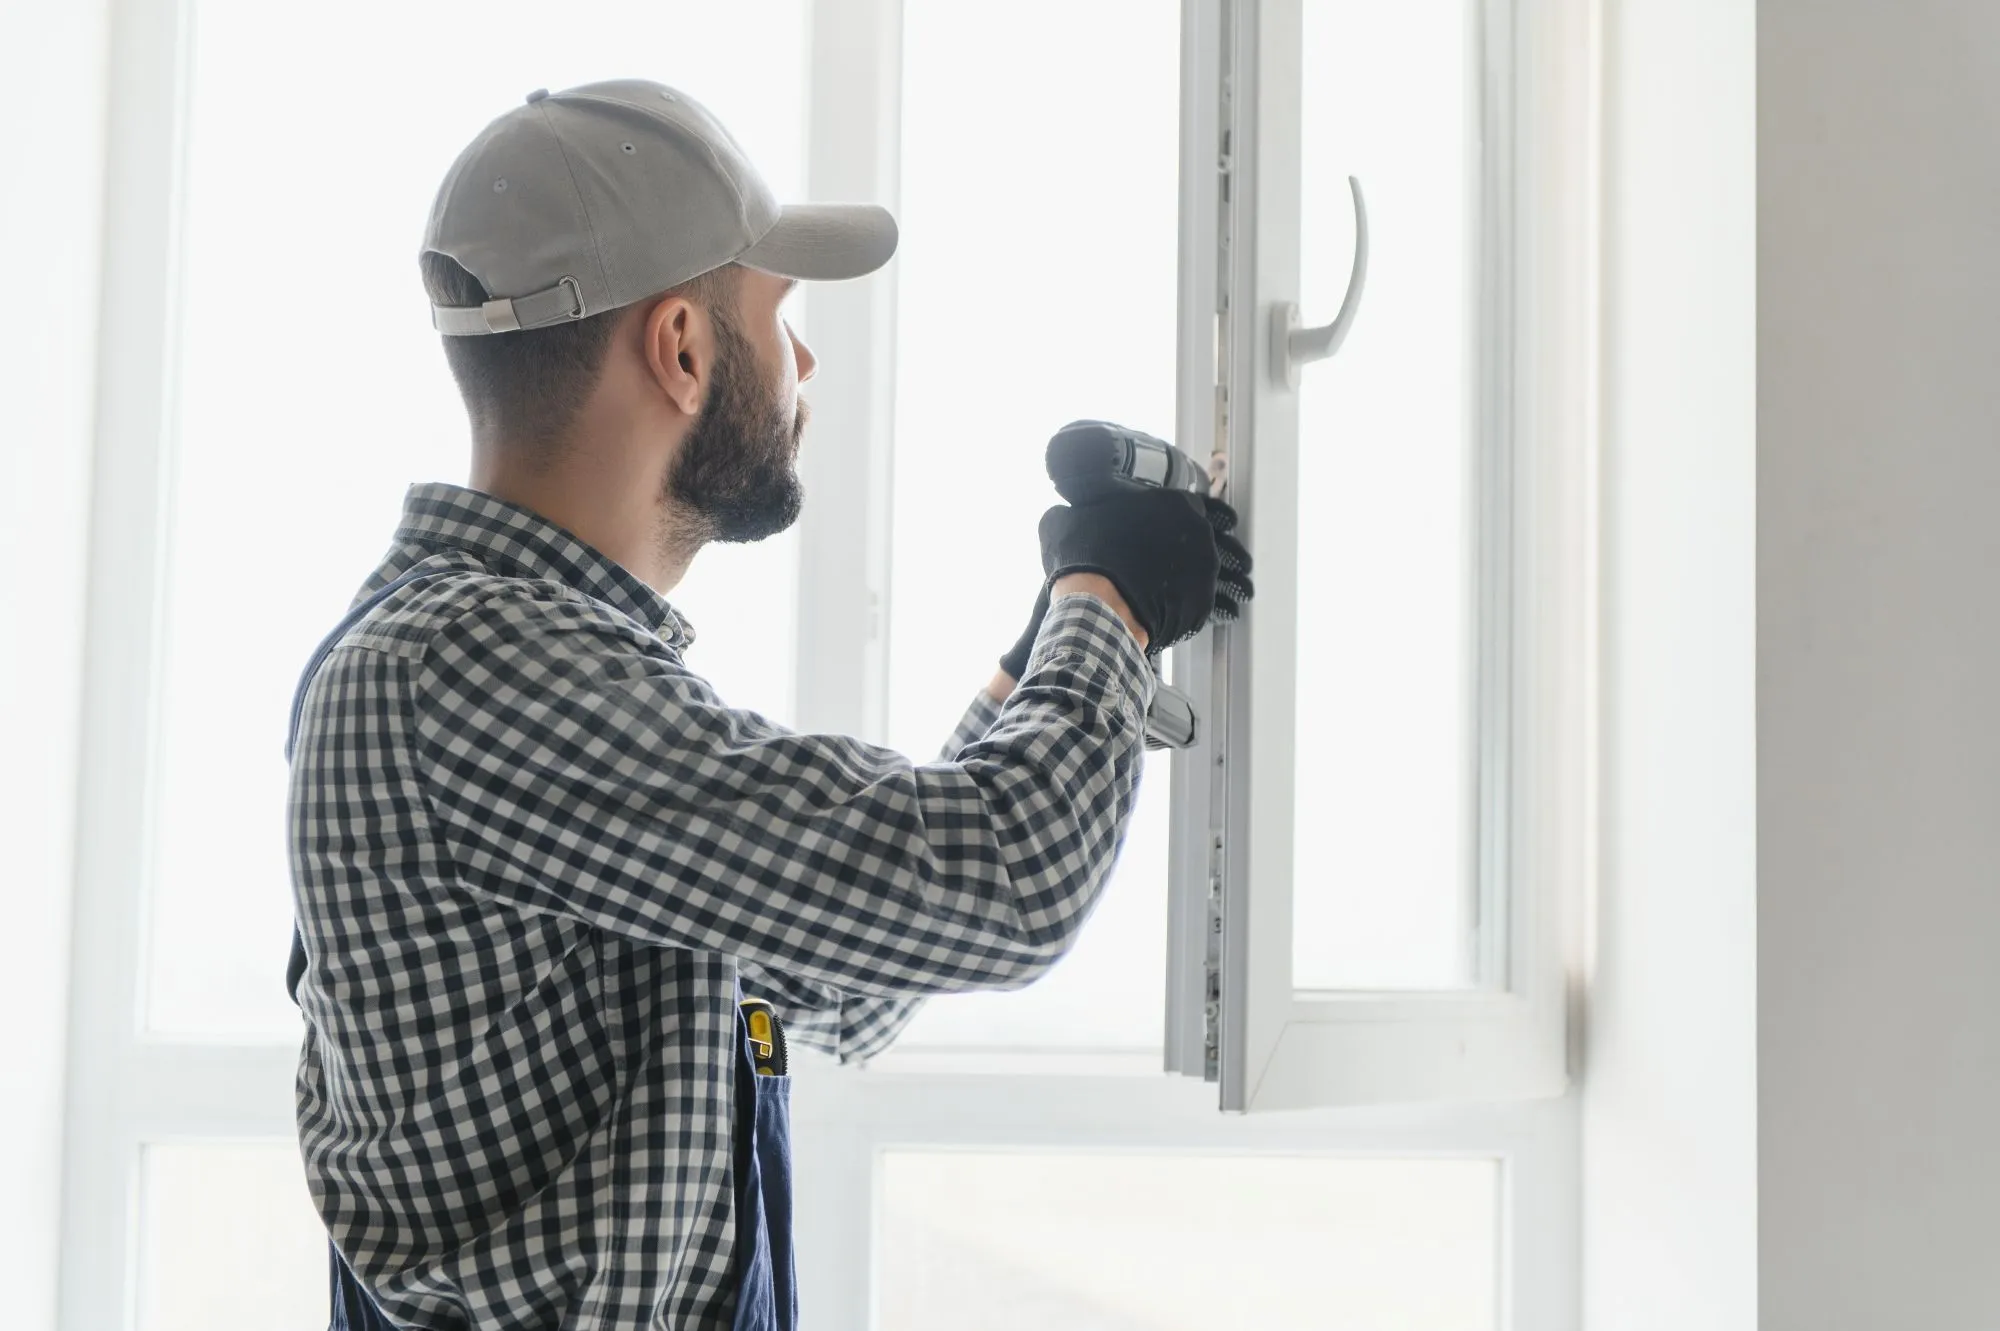
A window replacement installation involves removing the existing unit, examining the exposed opening, fitting and securing the replacement, sealing the surrounding gaps, and completing the specified finishes. Installers generally need access from inside and outside the home, but most noise, dust, and activity remain concentrated around the window being replaced. Window & Door Guys follows this workflow to address conditions that would otherwise remain concealed behind the existing frame.
Pre-Installation Preparation by the Contractor
Preparation begins before the crew arrives. The contractor confirms the product specifications, installation method, access requirements, and finishing responsibilities so the replacement unit and work area are ready for installation day.
Measurement Confirmation and Window Ordering
Final measurements account for the opening’s width, height, depth, and existing condition. The contractor also confirms the window style, operating direction, frame material, glass configuration, colour, hardware, and finishing requirements before ordering the unit.
Measurements depend on the installation method. An insert replacement retains the existing frame and is generally suitable only when that frame is sound, square, and compatible with the new unit. A full-frame replacement exposes the rough opening and is more appropriate when the existing frame is deteriorated, misaligned, leaking, or unsuitable for the intended replacement. Window & Door Guys confirms these conditions during its window replacement assessment.
Site Preparation and Protection Steps
Before removal begins, installers establish a safe work area around each window. Floor coverings protect nearby surfaces, while tools and disposal containers are positioned to control glass, fasteners, packaging, and removed frame materials.
Exterior preparation depends on the window’s location. The crew may require space for ladders, equipment, or access across a deck, walkway, yard, or planting area. Access restrictions and vulnerable exterior features should be identified before work starts.
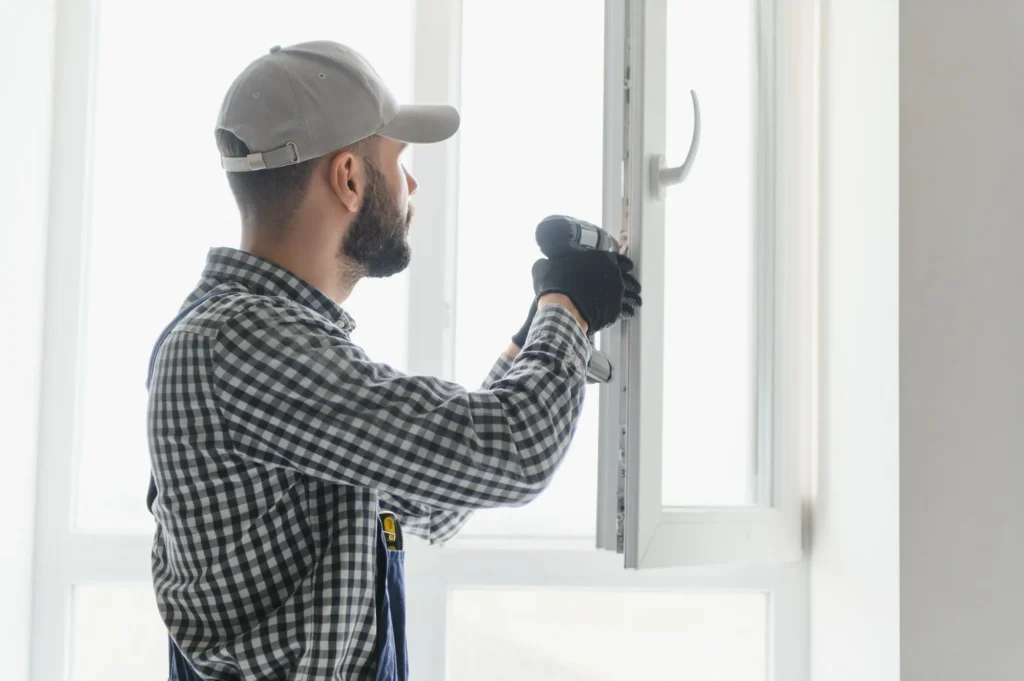
What Homeowners Should Do Before Installation Day
The immediate work area will be temporarily unavailable. Homeowners should expect tool noise, localized dust, and a period when the opening is exposed to outdoor conditions. Rooms away from the active work area normally remain usable as long as the crew’s access routes stay clear.
Children and pets should remain away from tools, debris, and exposed openings. Installers should also be told about security equipment, delicate finishes, concealed wiring, or unusual access conditions.
Clearing Interior and Exterior Access Areas
Move furniture, plants, lamps, and other belongings away from the interior side of each window. Curtains, blinds, and detachable mounting hardware should be removed unless the contractor has agreed to handle them. Nearby wall decorations should also be taken down because installation work can create vibration.
Outside, relocate patio furniture, planters, hoses, and other movable obstacles. Unlock required gates and identify irrigation components, low-voltage wiring, or fragile landscaping that may not be visible from the work area.
Security sensors attached to the window may need to be disconnected before removal. The homeowner should confirm whether the installation crew or alarm provider will handle disconnection and reconnection.
Protecting Furniture and Belongings
Contractor coverings protect the immediate work zone, but fragile, valuable, or dust-sensitive belongings should be relocated. Large furniture that cannot be moved should be fully covered without reducing the working clearance around the opening.
Electronics should be moved or protected from dust. Homeowners should also confirm who will reinstall blinds, curtains, and other window coverings after the replacement is complete.
Step-by-Step Window Installation Process
The exact procedure depends on the existing frame, exterior cladding, wall assembly, and selected installation method. A typical replacement follows five stages:
- Remove the window components required for the selected method.
- Expose and assess the opening.
- Position, align, fasten, and test the replacement unit.
- Complete the insulation, air sealing, and exterior water management.
- Restore the included interior and exterior finishes.
Removing the Existing Window Unit
Removal may involve taking out the operable sashes and selected frame components or removing the entire assembly down to the rough opening. Insert replacement disturbs fewer surrounding materials, while full-frame removal provides access to the structural opening, old insulation, and concealed water-management details.
Installers work around the casing, cladding, and adjacent finishes to limit unnecessary damage. Brittle trim, deteriorated materials, hidden fasteners, or earlier modifications can make some disturbance unavoidable.
Inspecting the Rough Opening for Damage
The exposed opening is checked for structural stability, suitable fastening surfaces, and correct dimensions. The installer also looks for deteriorated wood, damaged sheathing, moisture staining, missing insulation, and evidence of uncontrolled air or water movement.
Any active source of moisture must be addressed before the opening is closed. Replacing damaged material alone will not correct defective flashing, drainage, exterior cladding, or another unresolved entry point.
Installing and Sealing the New Window
The replacement unit is positioned and adjusted until it is level, plumb, and square. Shims support the frame at the required points, while fasteners secure it without causing twisting or bowing. The sash, locks, and other operating components are tested before the surrounding finishes conceal the installation.
Fastening, flashing, and sealant details should follow the window manufacturer’s instructions and suit the existing wall assembly. The exterior connection must integrate with the wall’s drainage plane so water moves away from the opening without blocking intended drainage paths.
Insulation and Air Sealing Around the Frame
The space between the window frame and rough opening requires insulation and a continuous air seal. Installers commonly use low-expansion window and door foam or another compatible system that fills the cavity without exerting enough pressure to deform the frame.
Insulation limits heat transfer through the perimeter gap, while air sealing controls unwanted airflow. Filling the cavity without sealing its air pathways can still leave drafts and allow moisture to move through the assembly.
Interior and Exterior Finishing Work
Finishing restores the visible surfaces around the installed unit. Depending on the agreed scope, this may include reinstalling or replacing interior casing, adding extension jambs, completing exterior trim or capping, and applying caulking at designated joints.
Painting, stain matching, drywall repair, siding replacement, and window-covering installation may fall outside the replacement scope. The contractor and homeowner should document which finishes are included and the condition in which surrounding surfaces will be left.
Common Issues Found During Installation
Removing the existing unit can expose problems that were not visible during the initial assessment. Additional repairs depend on whether the condition affects structural support, fastening, drainage, sealing, or the fit of the ordered window.
The installer should document the issue, explain the required correction, and obtain approval before expanding the work. Older assemblies can also expose coatings, sealants, or insulation suspected of containing regulated materials. These materials may require testing or specialized handling before work continues.
Hidden Rot or Structural Damage
Water entering around an older window can damage framing, sheathing, insulation, or interior finishes without producing an obvious surface stain. Softened wood, corrosion, suspected microbial growth, or deteriorated materials require assessment before the new unit covers the area. Suspected mould cannot be confirmed by appearance alone and may require qualified evaluation.
Localized deterioration may be resolved by replacing a limited section of material and correcting the moisture source. Damage extending into structural framing or the surrounding wall may require a carpenter, building-envelope specialist, waterproofing contractor, or remediation professional.
Frame Misalignment or Improper Previous Installations
An opening may be out of square because of building movement, framing irregularities, or an earlier installation that used uneven fastening or excessive shimming. The crew may also uncover missing insulation, inadequate flashing, blocked drainage paths, or sealant that trapped moisture.
Minor dimensional differences can often be corrected through proper shimming or limited framing adjustments within the manufacturer’s tolerances. Substantial movement, damage, or sizing discrepancies may require rebuilding part of the opening or obtaining a differently sized unit before installation can continue.
Post-Installation Cleanup and Final Checks
Once finishing is complete, installers remove discarded materials, protective coverings, packaging, and installation debris. Cleanup should address both sides of the opening, including loose fasteners, glass fragments, dust, and caulking residue.
Each operable window should be opened, closed, and locked. The final inspection checks sash movement, hardware engagement, frame alignment, glass condition, visible seals, completed trim, and screen fit where a screen is included.
Flashing, fasteners, insulation, and portions of the air seal become concealed after finishing. Homeowners can ask to review these components before the trim is installed or request photographs of the completed concealed work. The final walkthrough should also cover operating instructions, maintenance requirements, applicable warranty documents, and any outstanding finish items.
What a Proper Installation Means for Long-Term Performance
A correctly installed window sits square in the opening, operates without binding, locks securely, and maintains consistent spacing around the sash and frame. Visible joints should be complete, with no unexplained gaps, loose trim, frame movement, or unfinished surfaces within the agreed scope.
These observations identify obvious concerns but cannot confirm every concealed installation detail. Long-term performance also depends on correct fastening, perimeter insulation, air sealing, flashing, and drainage completed according to the manufacturer’s requirements.
Room-side condensation does not automatically indicate an installation problem. Indoor humidity, ventilation, glass temperature, and outdoor conditions can cause moisture to form on the interior surface. Condensation between glass panes suggests a sealed-unit problem, while drafts or water entering around the frame can point to deficiencies at the installation perimeter.
A high-performance window cannot deliver its intended insulation or weather resistance when the surrounding opening remains unsealed or the frame is distorted. Window & Door Guys applies these installation principles across its residential window and door work in Calgary and surrounding communities.